Li-Ion Charger ProtoBoard
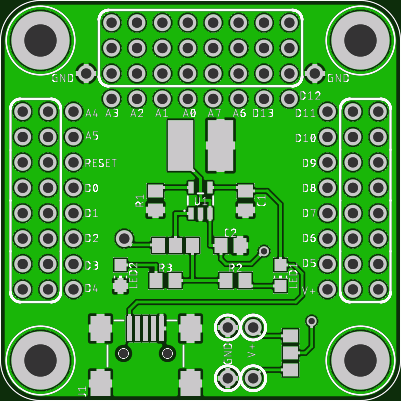
This guide will show you how to add a lithium-ion cell or lithium polymer battery to the ATMega328P SMD ProtoBoard I sell on Tindie.
What You Will Need?
- ATMega328P SMD ProtoBoard
Buy One Here - Li-Ion Charger ProtoBoard
Buy One Here
Assemble the charger board using this post as a guide.
R1 – Charging Current Set Resistor
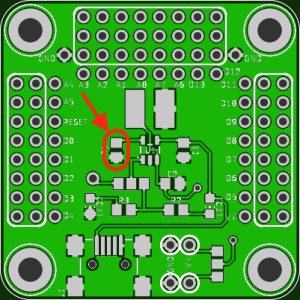
The formula to set the charging current is:
Charging Current(mA) = 1000V ÷ Resistance in KΩ.
| Resistor Value | Charging Current |
| 1K | 1000mA |
| 2K | 500mA |
| 3K9 | 256mA |
| 10K | 100mA |
Some of the more popular values are in the table above.
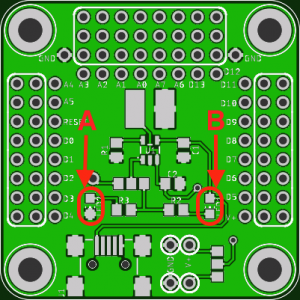
Status LED’s
| Led A | Led B | |
| No Battery | OFF | OFF |
| Pre Condition | OFF | ON |
| Constant Current | OFF | ON |
| Constant Voltage | OFF | ON |
| Charge Complete | ON | OFF |
For a dual status led indicator, it’s important that the combined forward voltage of both leds is >= 4.2v.
Before the leds will function you must select them using the following solder jumper…
STAT Output Selection
 It is possible to monitor the charging cycle using the ATMega328 by bridging the left two pads with solder and linking pinhole A to an input of the MCU.
The right two pads, when linked, will connect the STAT output to the two leds.
Power Selection Jumper
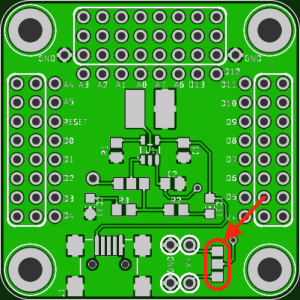
There are a further two options for the power selection jumper:
The top two pads bridged with solder send the battery voltage to the DC-DC BoostProto (Coming Soon).
The bottom two pads bridged with solder send the battery voltage to the ATMega328 ProtoBoard through a 2 pin 0.1″ header.
MCP73831 Datasheet
MCP73831.pdf (1120 downloads )
Leave a Reply
You must be logged in to post a comment.